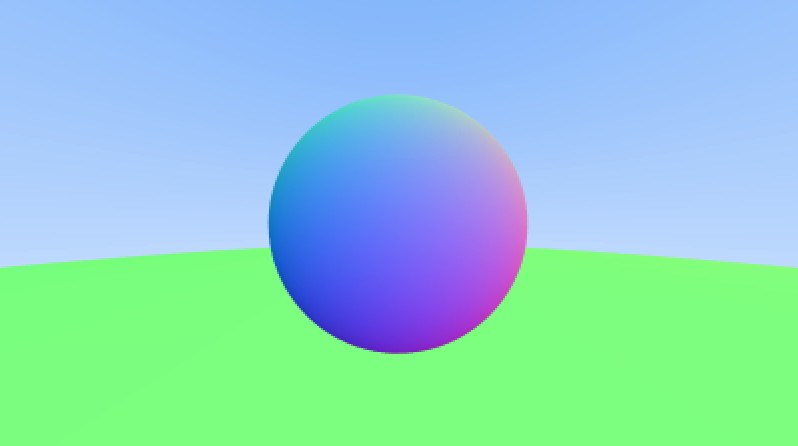
将上一节生成的图放大来看,可以看到球体的边缘与存在着很明显的锯齿,这一节我们首先将相机的代码进行抽象,写在一个 Camera 结构体里,然后加入抗锯齿的逻辑。
最终生成图如下
放大这次与上次生成的图,边缘对比图如下(左边为上次的图,右边为这次的图)
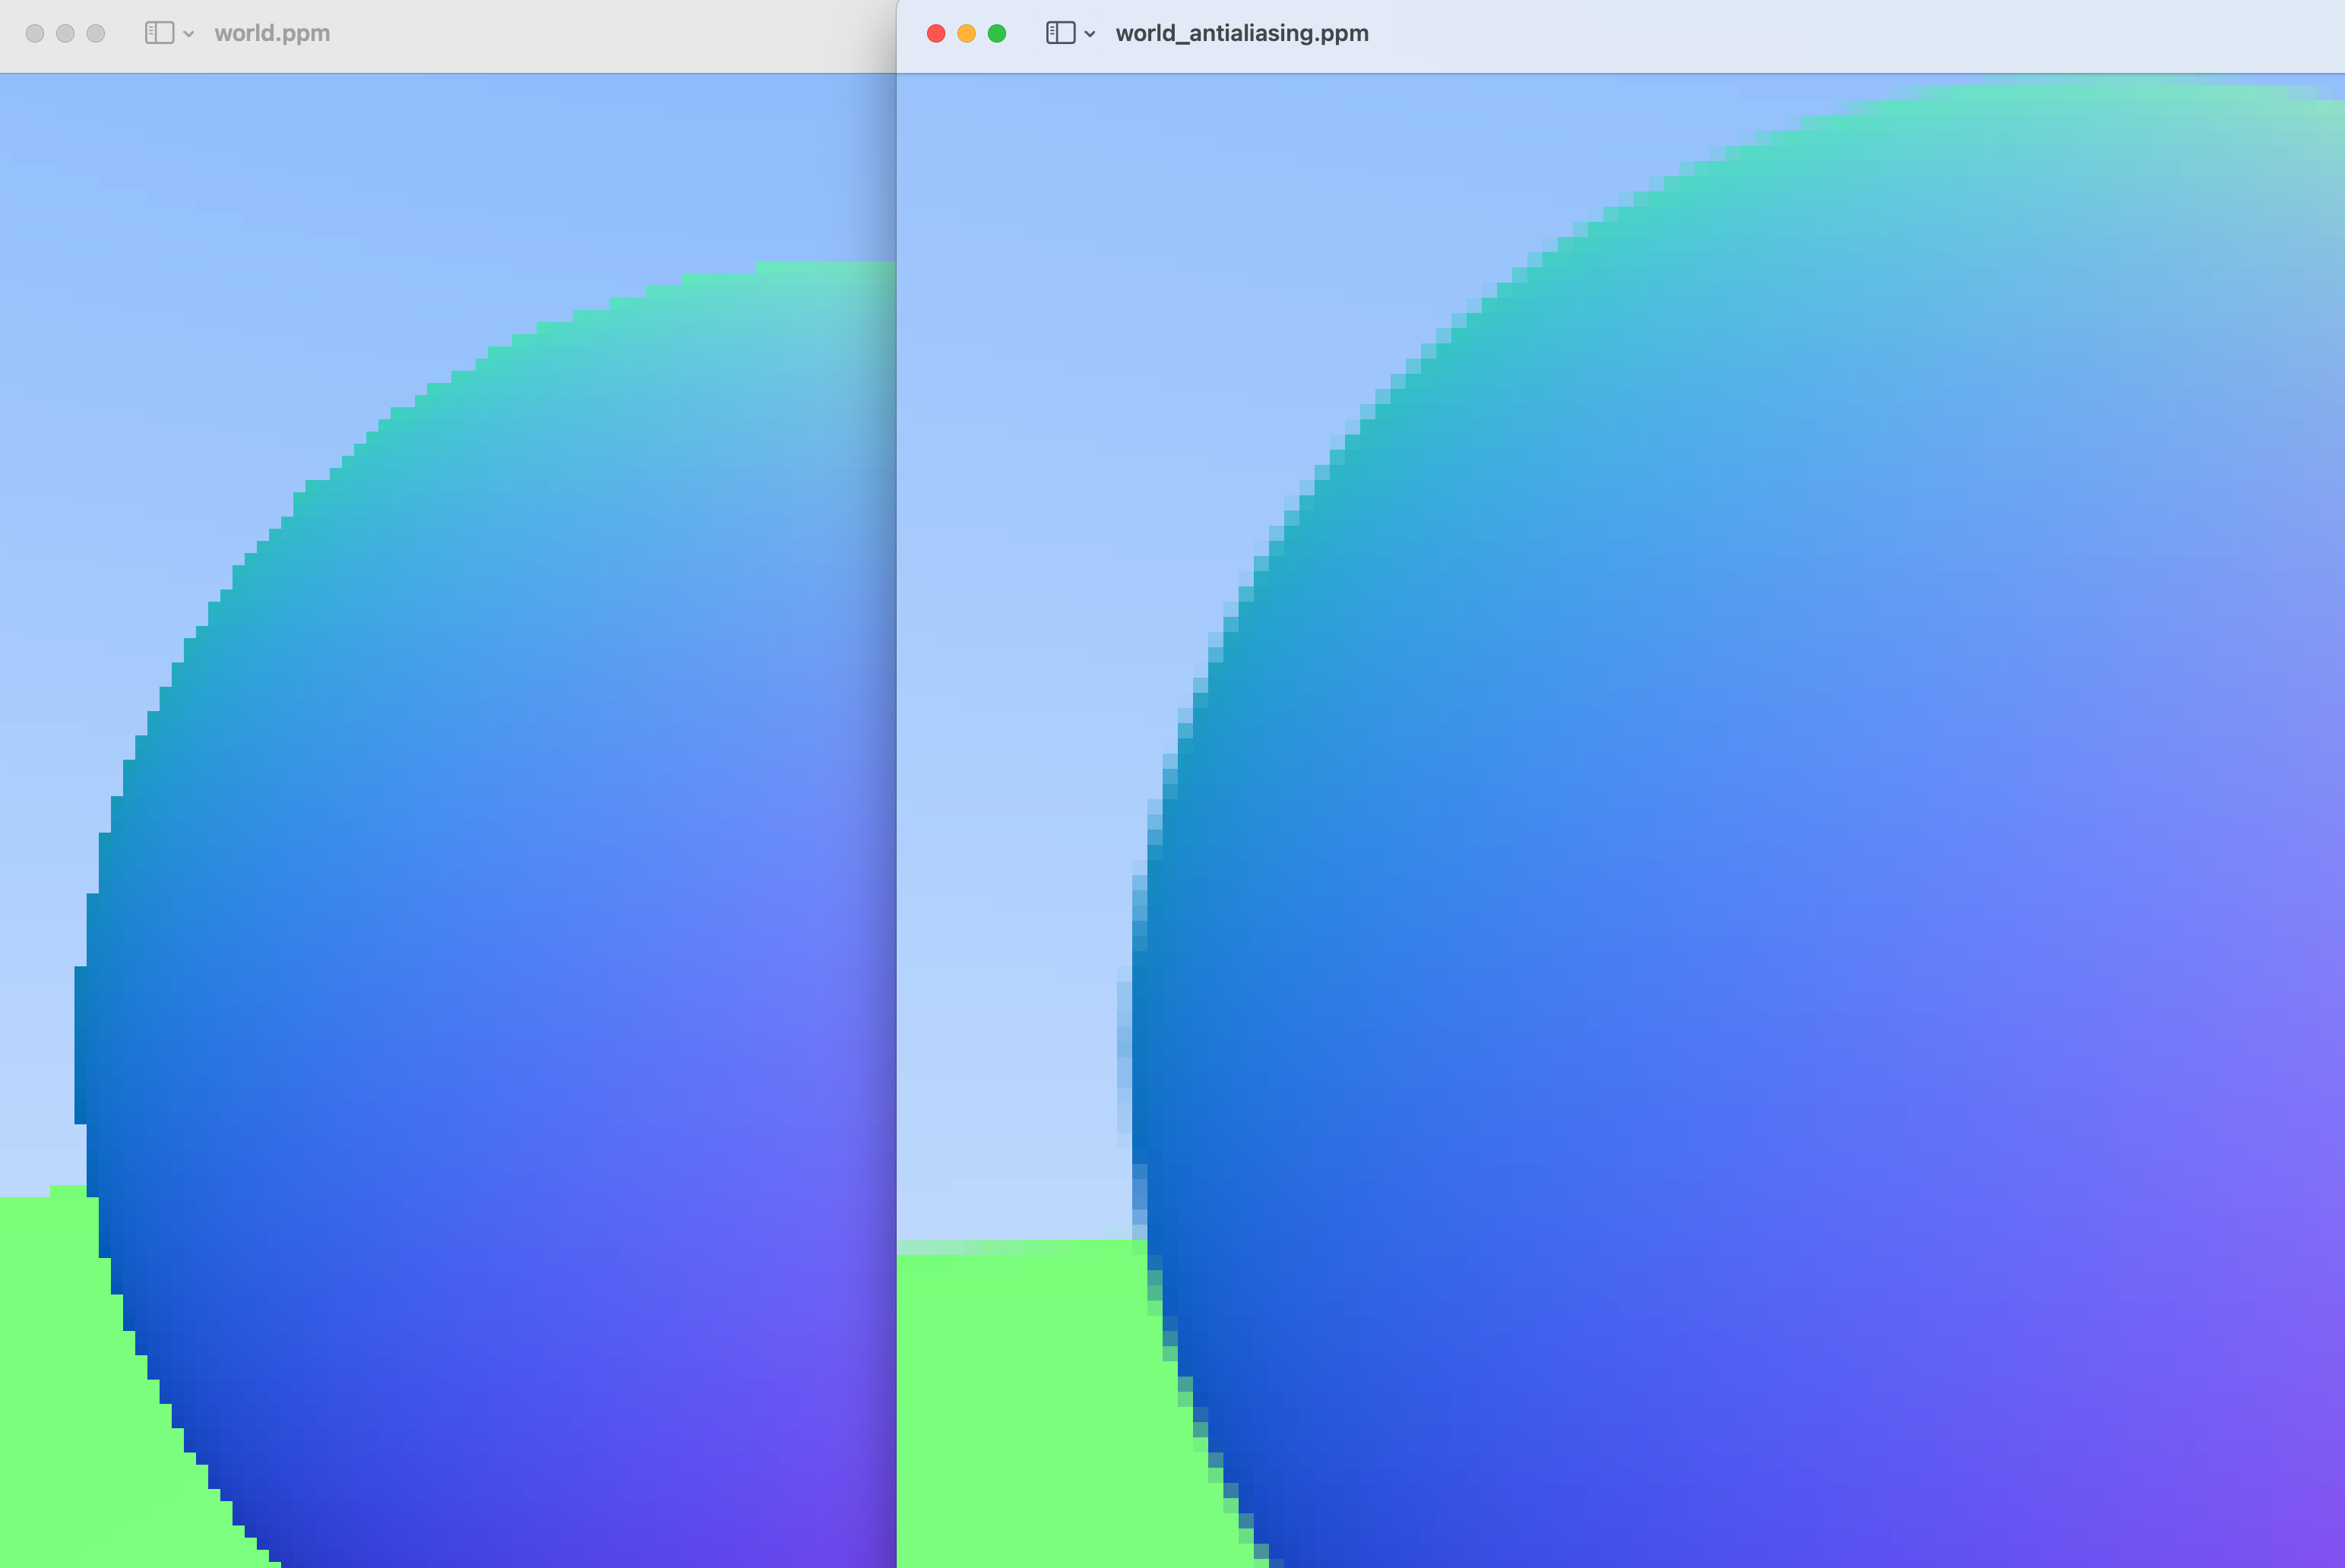
抗锯齿有各种各样方式,简单来说就是一个像素与周围像素的融合过渡。我们这里采用的抗锯齿的方式,就是多次采样,一个像素的颜色,通过随机叠加它周围的像素颜色,然后取平均,作为最终颜色。
这次的逻辑中使用到了一个外部的随机库 rand,所以先将 rand 库加入到工程中,使用命令 cargo add rand 来添加即可。
颜色的结构体 Color,本质上就是一个 Vec3,只不过我们给 Vec3 起了一个别名叫 Color 而已。因为这次要加入抗锯齿的像素颜色计算,所以我们将 Color 的逻辑放到一个单独的文件中。新建一个文件 color.rs,代码如下
Vec3 中的 get_color_string 函数可以直接删除。这里新的 get_color_string 中的参数 pixel_color 就是一个像素与周围像素叠加后的颜色,而 samples_per_pixel 是随机采样的次数,也就是这个像素颜色随机叠加了多少个周围颜色,然后在函数中取平均,计算出最终的 RGB 颜色值。
clamp 函数是将一个值限定在一个范围内。
// src/color.rs
use crate::vec3::Vec3;

pub type Color = Vec3;

pub fn get_color_string(pixel_color: Color, samples_per_pixel: u64) -> String {
    let mut r = pixel_color.x;
    let mut g = pixel_color.y;
    let mut b = pixel_color.z;

    let scale = 1.0 / samples_per_pixel as f64;
    r *= scale;
    g *= scale;
    b *= scale;

    let r = (256.0 * r.clamp(0.0, 0.999)) as u64;
    let g = (256.0 * g.clamp(0.0, 0.999)) as u64;
    let b = (256.0 * b.clamp(0.0, 0.999)) as u64;

    format!("{} {} {}\n", r, g, b)
}
接下来添加相机的逻辑,其实就是将原来 main 函数里相机的逻辑放到一个单独 Camera 结构体里。新建一个名为 camera.rs 的文件,代码如下
// src/camera.rs
use crate::ray::Ray;
use crate::vec3::Vec3;

pub struct Camera {
    origin: Vec3,
    lower_left_corner: Vec3,
    horizontal: Vec3,
    vertical: Vec3,
}

impl Camera {
    pub fn new() -> Self {
        let aspect_ratio = 16.0 / 9.0;
        let viewport_height = 2.0;
        let viewport_width = aspect_ratio * viewport_height;
        let focal_length = 1.0;

        let origin = Vec3::zero();
        let horizontal = Vec3::new(viewport_width, 0.0, 0.0);
        let vertical = Vec3::new(0.0, viewport_height, 0.0);
        let lower_left_corner =
            origin - horizontal / 2.0 - vertical / 2.0 - Vec3::new(0.0, 0.0, focal_length);

        Self {
            origin,
            lower_left_corner,
            horizontal,
            vertical,
        }
    }

    pub fn get_ray(&self, u: f64, v: f64) -> Ray {
        let direction =
            self.lower_left_corner + u * self.horizontal + v * self.vertical - self.origin;
        Ray::new(self.origin, direction)
    }
}
然后就是修改 main 函数的渲染部分
// src/main.rs
#![allow(dead_code)]
mod camera;
mod color;
mod hittable;
mod hittable_list;
mod ray;
mod sphere;
mod vec3;
use camera::Camera;
use color::Color;
use hittable::Hittable;
use hittable_list::HittableList;
use rand::Rng;
use ray::Ray;
use sphere::Sphere;
use vec3::Vec3;

fn ray_color(r: Ray, world: &dyn Hittable) -> Color {
    if let Some(hit_record) = world.hit(r, 0.0, f64::INFINITY) {
        return 0.5 * (hit_record.normal + Color::one());
    }

    let unit_direction = Vec3::unit_vector(r.direction);
    let t = 0.5 * (unit_direction.y + 1.0);
    return (1.0 - t) * Color::one() + t * Color::new(0.5, 0.7, 1.0);
}

fn main() {
    // Image config
    const ASPECT_RATIO: f64 = 16.0 / 9.0;
    const IMAGE_WIDTH: u64 = 400;
    const IMAGE_HEIGHT: u64 = ((IMAGE_WIDTH as f64) / ASPECT_RATIO) as u64;
    const SAMPLES_PER_PIXEL: u64 = 100;

    // World
    let mut world = HittableList::new();
    world.add(Box::new(Sphere::new(Vec3::new(0.0, 0.0, -1.0), 0.5)));
    world.add(Box::new(Sphere::new(Vec3::new(0.0, -100.5, -1.0), 100.0)));

    // Camera config
    let cam = Camera::new();

    // Render
    let mut rng = rand::thread_rng();
    let mut image_file_string = String::new();
    image_file_string.push_str(&format!("P3\n{} {}\n255\n", IMAGE_WIDTH, IMAGE_HEIGHT));
    for j in (0..=IMAGE_HEIGHT - 1).rev() {
        for i in 0..IMAGE_WIDTH {
            let mut pixel_color = Color::zero();
            for _ in 0..SAMPLES_PER_PIXEL {
                let u_rand: f64 = rng.gen();
                let v_rand: f64 = rng.gen();
                let u = (i as f64 + u_rand) / (IMAGE_WIDTH - 1) as f64;
                let v = (j as f64 + v_rand) / (IMAGE_HEIGHT - 1) as f64;
                let r = cam.get_ray(u, v);
                pixel_color += ray_color(r, &world);
            }

            image_file_string.push_str(&format!(
                "{}",
                color::get_color_string(pixel_color, SAMPLES_PER_PIXEL)
            ));
        }
    }

    println!("{}", image_file_string);
}
最后,运行 cargo run --release > world_antialiasing.ppm。这里使用了 release 模式,因为增加了多次采样,所以 debug 模式慢很多,要几十秒才能生成完图片,所以这里直接使用了 release 模式。