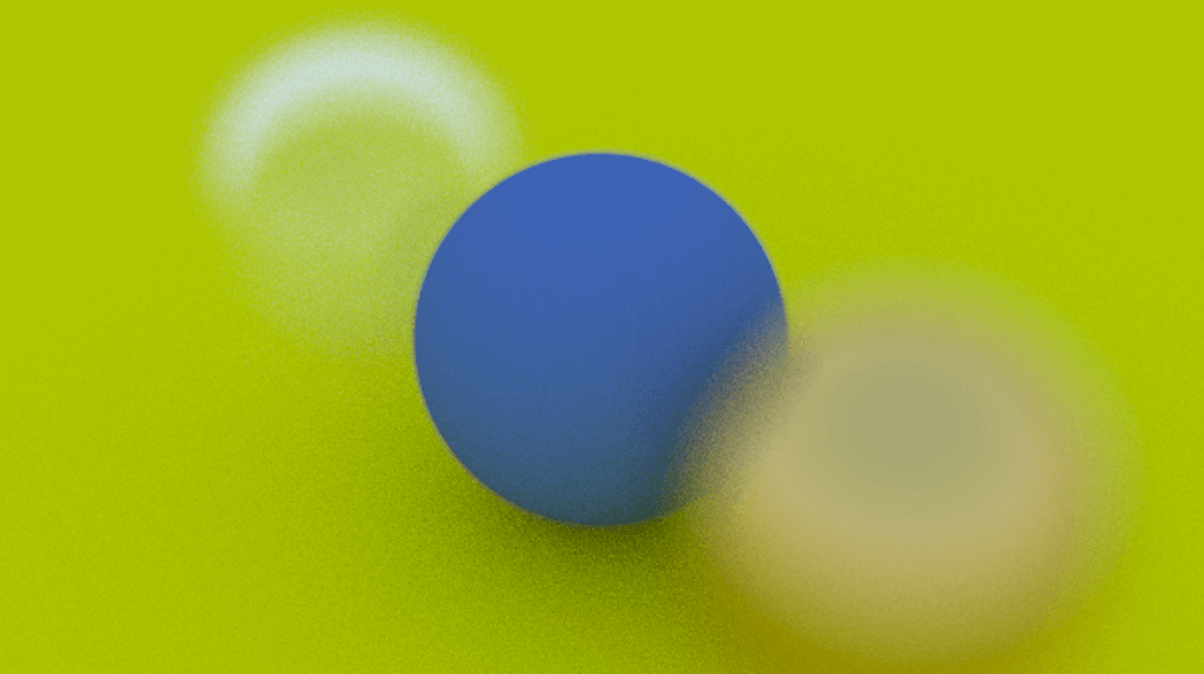
散焦模糊,通俗来讲就是在聚焦区域外的东西,都是模糊的。通常这种效果被称为 Depth Of Field(DOF),也就是景深。最终效果如下

对于真实的相机来说,实现这个效果的过程,是很复杂的。但是对于在光线追踪中实现景深,就简单了许多,一根光线的目标点不变,我们只需要在虚拟的光圈内,随机一个新的起点,即可。
首先,在 Vec3 的实现中,添加一个新的函数,用于生成在单位圆上的上下左右偏移。
// src/vec3.rs
pub fn random_in_unit_disk() -> Vec3 {
    let mut rng = rand::thread_rng();
    loop {
        let p = Vec3::new(rng.gen_range(-1.0..1.0), rng.gen_range(-1.0..1.0), 0.0);
        if p.length_squared() >= 1.0 {
            continue;
        }
        return p;
    }
}
然后修改 Camera 结构体,将 u、v、w 以一个新的变量,透镜半径,lens_radius 加入到结构体中。在 Camera 的创建函数 new 的参数中,需要传递 aperture 也就是我们定义的光圈大小,focus_dist 是聚焦平面到相机的距离,其他的不变,与上一节一样。
通过 focus_dist 可以计算出聚焦平面的横向和纵向,以及左下角的位置。透镜的半径等于光圈大小的一半。
而在 get_ray 函数中,将射线的起点和方向,都加了一个随机的偏移。
// src/camera.rs
use crate::ray::Ray;
use crate::vec3::Vec3;

pub struct Camera {
    origin: Vec3,
    lower_left_corner: Vec3,
    horizontal: Vec3,
    vertical: Vec3,
    u: Vec3,
    v: Vec3,
    w: Vec3,
    lens_radius: f64,
}

impl Camera {
    pub fn new(
        lookfrom: Vec3,
        lookat: Vec3,
        vup: Vec3,
        vfov: f64,
        aspect_ratio: f64,
        aperture: f64,
        focus_dist: f64,
    ) -> Self {
        let theta = vfov * std::f64::consts::PI / 180.0;
        let h = (theta / 2.0).tan();
        let viewport_height = 2.0 * h;
        let viewport_width = aspect_ratio * viewport_height;

        let w = Vec3::unit_vector(lookfrom - lookat);
        let u = Vec3::unit_vector(Vec3::cross(vup, w));
        let v = Vec3::cross(w, u);

        let origin = lookfrom;
        let horizontal = focus_dist * viewport_width * u;
        let vertical = focus_dist * viewport_height * v;
        let lower_left_corner = origin - horizontal / 2.0 - vertical / 2.0 - focus_dist * w;

        let lens_radius = aperture / 2.0;

        Self {
            origin,
            lower_left_corner,
            horizontal,
            vertical,
            u,
            v,
            w,
            lens_radius,
        }
    }

    pub fn get_ray(&self, s: f64, t: f64) -> Ray {
        let rd = self.lens_radius * Vec3::random_in_unit_disk();
        let offset = self.u * rd.x + self.v * rd.y;

        let direction = self.lower_left_corner + s * self.horizontal + t * self.vertical
            - (self.origin + offset);
        Ray::new(self.origin + offset, direction)
    }
}
cargo run --release > depth_of_field.ppm 将生成文章开头的效果图。
完整代码:https://github.com/moeif/rtiow-rs/tree/13