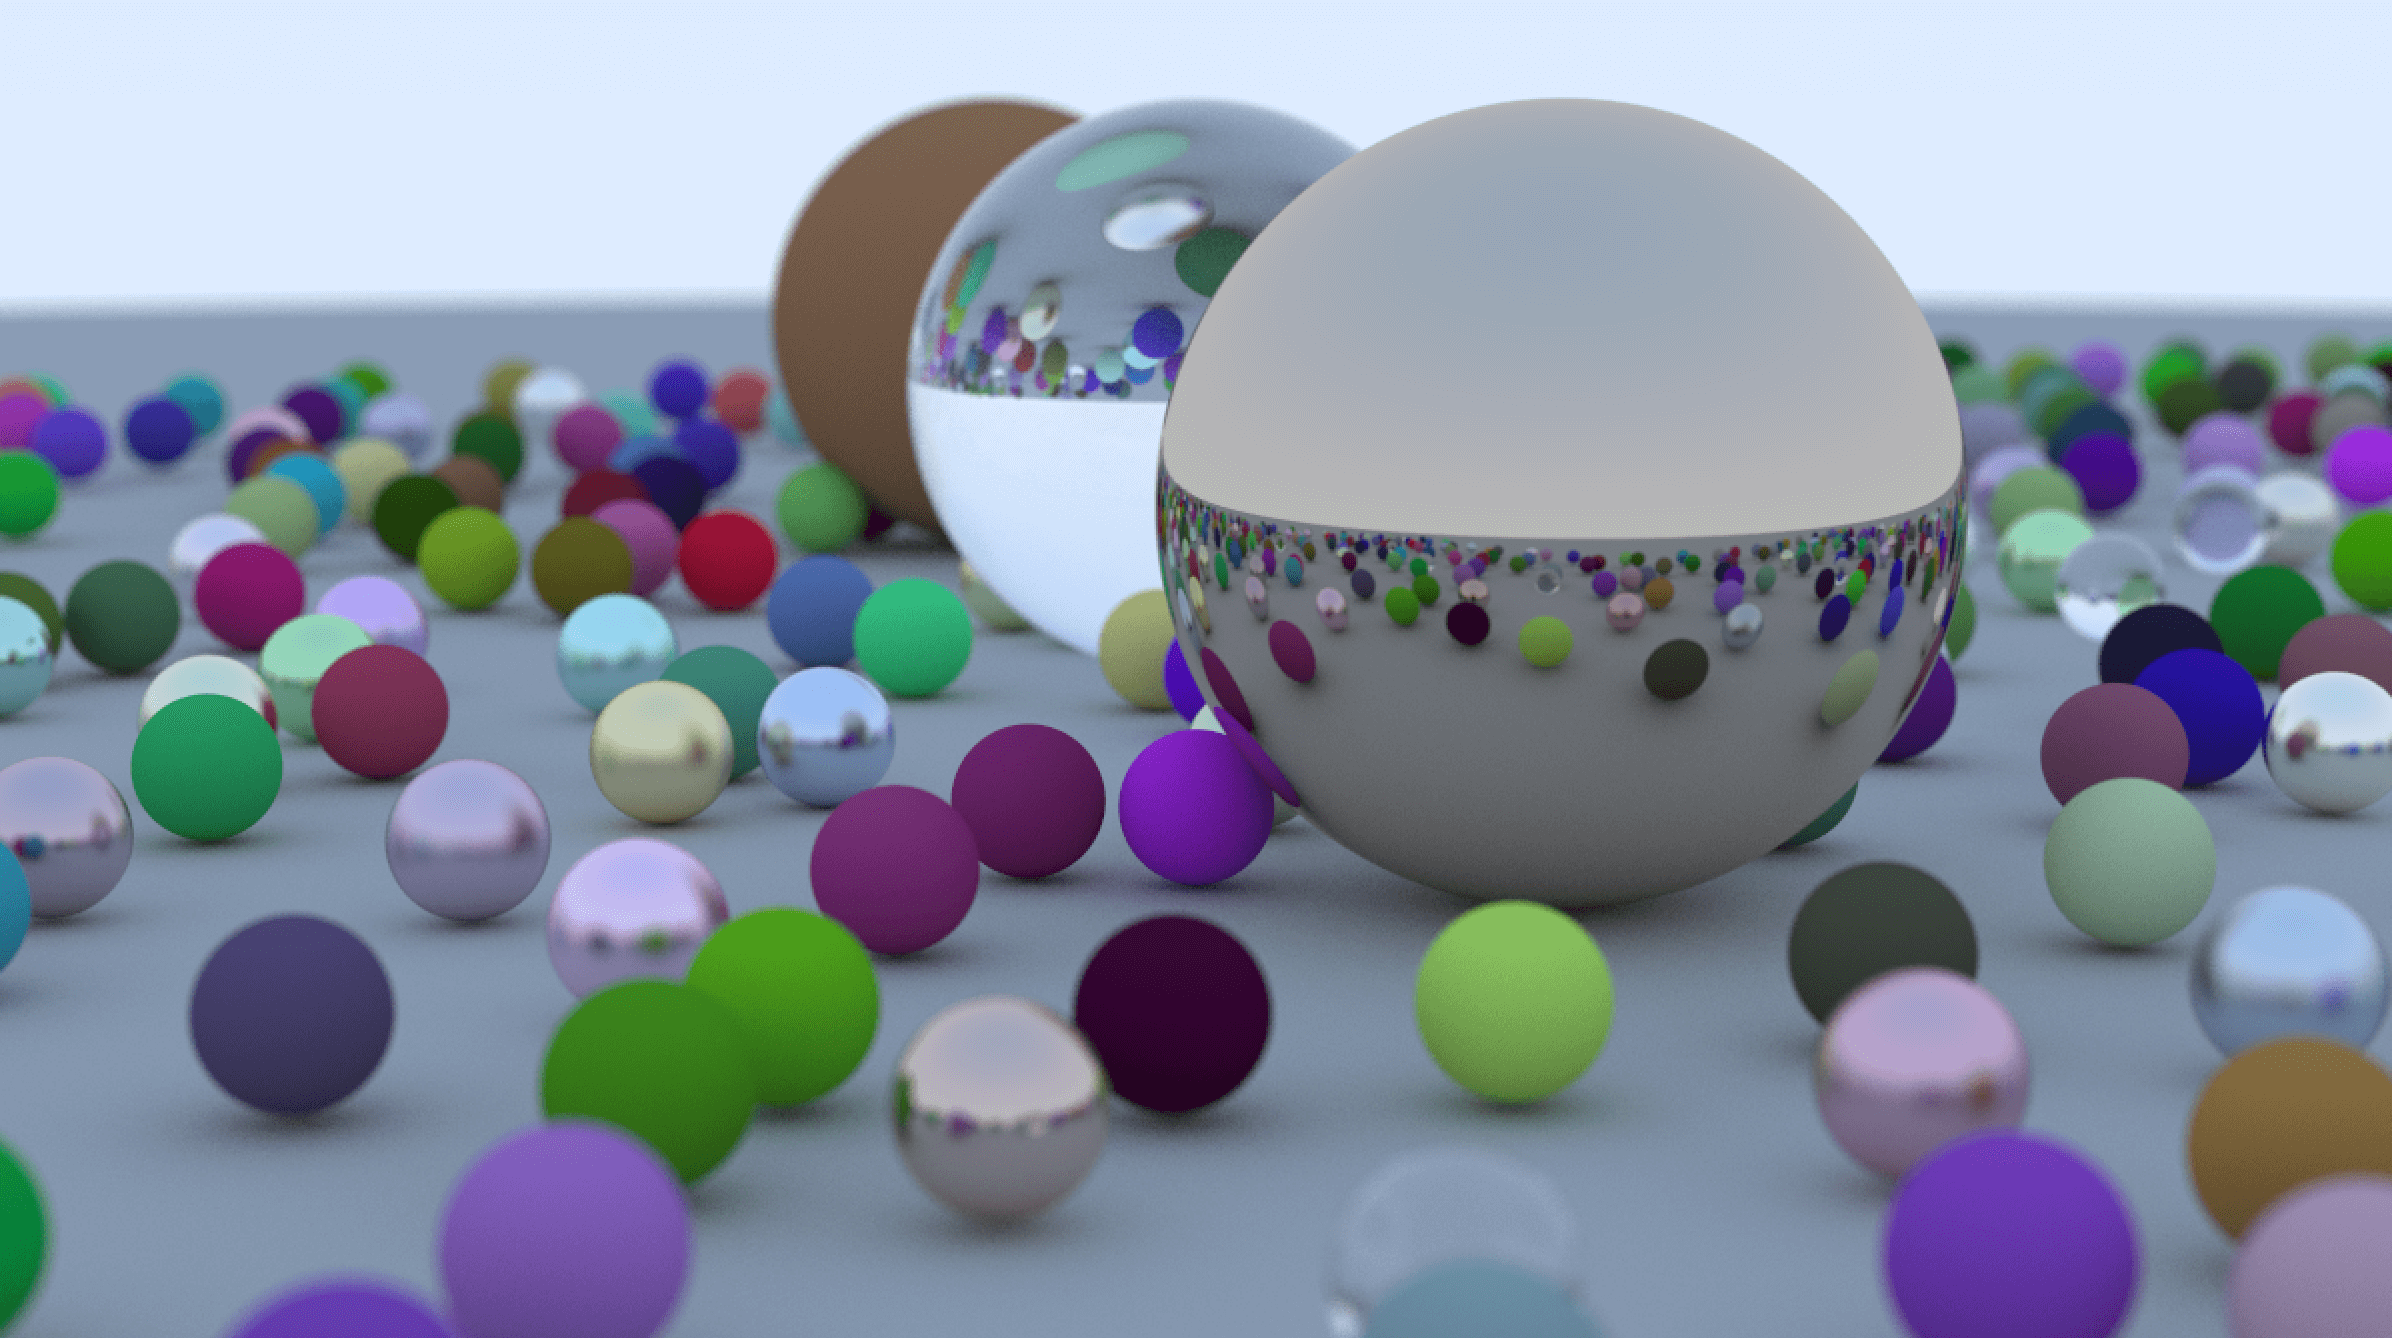
这一节没有新的知识,只是将之前知识汇总起来,然后生成一张最终的图,最终生成的图如下
首先,将创建世界及添加物体的代码从 main 函数中删除,然后抽象成一个函数 random_scene,在这个函数中,会随机生成一些球体,并且根据规则,随机使用我们的已有的三个材质。
// src/main.rs
fn random_scene() -> HittableList {
    let mut world = HittableList::new();

    let ground_material = Lambertian::new(Color::new(0.5, 0.5, 0.5));
    world.add(Box::new(Sphere::new(
        Vec3::new(0.0, -1000.0, 0.0),
        1000.0,
        ground_material,
    )));

    let mut rng = rand::thread_rng();

    // 生成一些小球
    for a in -11..11 {
        for b in -11..11 {
            let choose_mat: f64 = rng.gen();
            let x_offset: f64 = rng.gen();
            let z_offset: f64 = rng.gen();
            let center = Vec3::new(a as f64 + 0.9 * x_offset, 0.2, b as f64 + 0.9 * z_offset);

            if (center - Vec3::new(4.0, 0.2, 0.0)).length() > 0.9 {
                if choose_mat < 0.8 {
                    // diffuse
                    let albedo = Color::random() * Color::random();
                    let mat = Lambertian::new(albedo);
                    let object = Sphere::new(center, 0.2, mat);
                    world.add(Box::new(object));
                } else if choose_mat < 0.95 {
                    // metal
                    let albedo = Color::random_range(0.5, 1.0);
                    let fuzz = rng.gen_range(0.0..0.5);
                    let mat = Metal::new(albedo, fuzz);
                    let object = Sphere::new(center, 0.2, mat);
                    world.add(Box::new(object));
                } else {
                    // glass
                    let mat = Dielectric::new(1.5);
                    let object = Sphere::new(center, 0.2, mat);
                    world.add(Box::new(object));
                }
            }
        }
    }

    // 生成几个大球
    let mat1 = Dielectric::new(1.5);
    world.add(Box::new(Sphere::new(Vec3::new(0.0, 1.0, 0.0), 1.0, mat1)));

    let mat2 = Lambertian::new(Color::new(0.4, 0.2, 0.1));
    world.add(Box::new(Sphere::new(Vec3::new(-4.0, 1.0, 0.0), 1.0, mat2)));

    let mat3 = Metal::new(Color::new(0.7, 0.6, 0.5), 0.0);
    world.add(Box::new(Sphere::new(Vec3::new(4.0, 1.0, 0.0), 1.0, mat3)));

    return world;
}
这次生成的图片尺寸会比以前的大,采样次数也会比以前多,所以生成很慢,为此,我加了一个进度的打印
// src/main.rs
fn main() {
    // Image config
    const ASPECT_RATIO: f64 = 16.0 / 9.0;
    const IMAGE_WIDTH: u64 = 1200;
    const IMAGE_HEIGHT: u64 = ((IMAGE_WIDTH as f64) / ASPECT_RATIO) as u64;
    const SAMPLES_PER_PIXEL: u64 = 500;
    const MAX_DEPTH: i32 = 50;

    // world
    let world = random_scene();

    // Camera config
    let lookfrom = Vec3::new(13.0, 2.0, 3.0);
    let lookat = Vec3::new(0.0, 0.0, 0.0);
    let vup = Vec3::new(0.0, 1.0, 0.0);
    let dist_to_focus = 10.0;
    let aperture = 0.1;
    let cam = Camera::new(
        lookfrom,
        lookat,
        vup,
        20.0,
        ASPECT_RATIO,
        aperture,
        dist_to_focus,
    );

    // Render
    let mut rng = rand::thread_rng();
    let mut image_file_string = String::new();
    image_file_string.push_str(&format!("P3\n{} {}\n255\n", IMAGE_WIDTH, IMAGE_HEIGHT));

    for j in (0..=IMAGE_HEIGHT - 1).rev() {
        for i in 0..IMAGE_WIDTH {
            let mut pixel_color = Color::zero();
            for _ in 0..SAMPLES_PER_PIXEL {
                let u_rand: f64 = rng.gen();
                let v_rand: f64 = rng.gen();
                let u = (i as f64 + u_rand) / (IMAGE_WIDTH - 1) as f64;
                let v = (j as f64 + v_rand) / (IMAGE_HEIGHT - 1) as f64;
                let r = cam.get_ray(u, v);
                pixel_color += ray_color(&r, &world, MAX_DEPTH);
            }

            image_file_string.push_str(&format!(
                "{}",
                color::get_color_string(pixel_color, SAMPLES_PER_PIXEL)
            ));
        }
        println!(
            "{}%",
            (IMAGE_HEIGHT - j) as f64 / IMAGE_HEIGHT as f64 * 100.0
        );
    }

    // println!("{}", image_file_string);
    io::write_to_file("./final_scene.ppm", &image_file_string);
}
这一次,直接使用 cargo run --release 即可,不需要将输出重定向,最终会生成 final_scene.ppm 这张图片。
完整代码:https://github.com/moeif/rtiow-rs/tree/14